Restoration and decoupage of aboire
Now enters the fashion to decorate the house of products made by yourself. Unique things, interior items, made in a vintage style or decorated using photos, baboons from a grandmother's chest will help make a room unusual. The article is devoted to the decoration of the old plastic lamp lamp in the technique "".
Often before decorating something, it is required to restore the surface. Let's tell about how to strengthen and level the plastic lampshade for subsequent decorative finishes.
Restoration of lampshar for decoupage
Once I already did the restoration and decoupage of the lamp, then the product was caught me with much smaller flaws than now. In addition, the dark color of the chosen motive has grown all the irregularities of light. But the lampshade is an object that transmits light by definition.
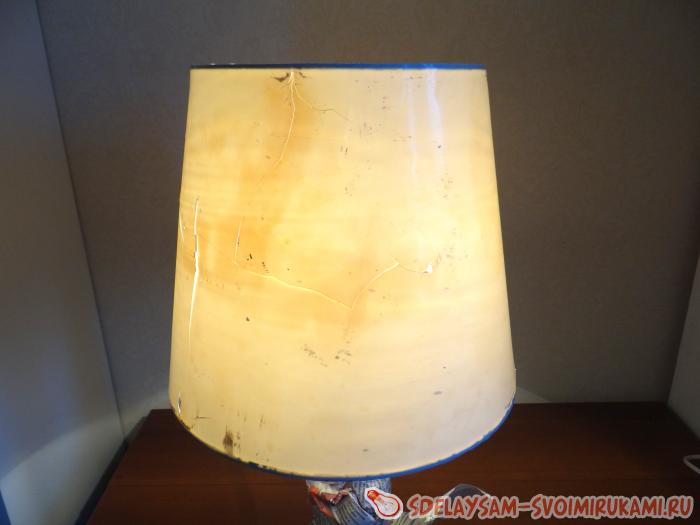
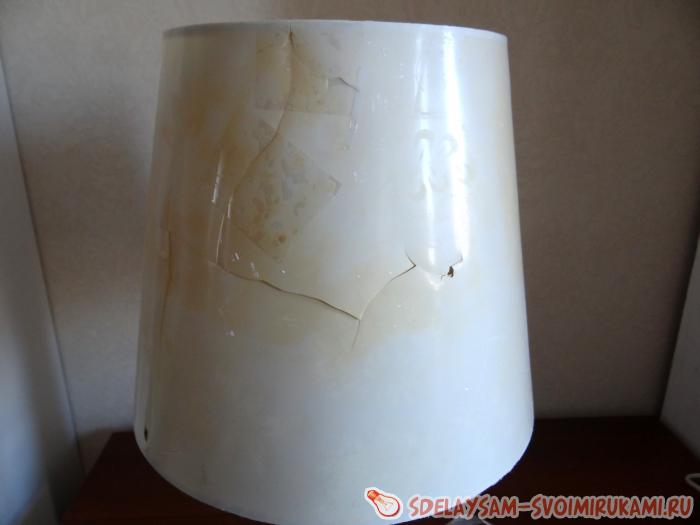
Recently, I got a table lamp in my hands. Sharzhaur had clear drawings, plant ornaments. The drawing of the owners managed to get bored, and plus had defects: lines from a ballpoint pen drawn by a child. Under the closer look, it became noticeable that plastic burst plastic.
For decoupage of this lamp, I decided to take bright motifs. The choice fell on tender tulips against the background of a wooden ornament, the greens and tenderness of the flowers conquered me.
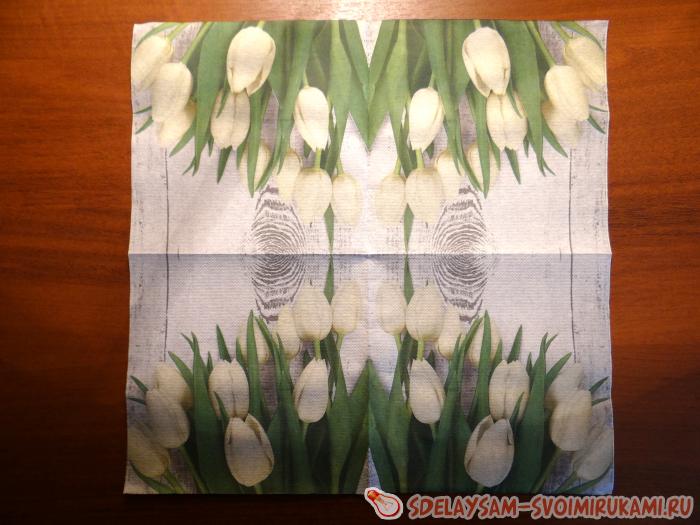
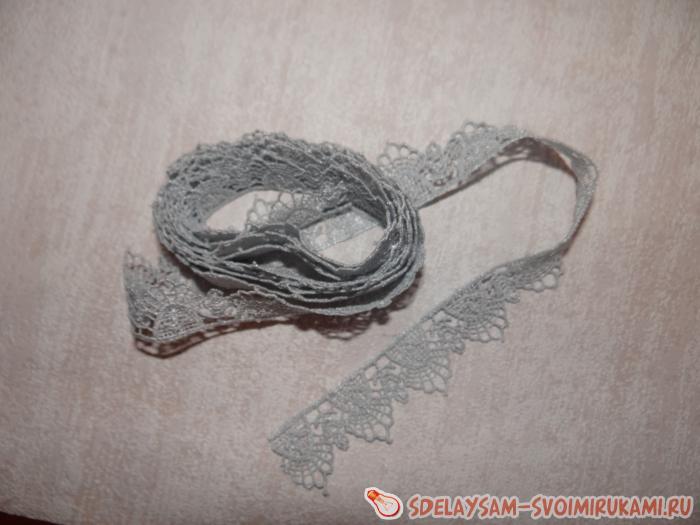
In the color of gray shades, the napkins looked at the cotton braid (lace) for the processing of the lamps.
We would like to tell about the restoration of this subject of the interior.
Removing the old coating
The leg of the lamp is white so that paint does not hit it, close it with newspapers.
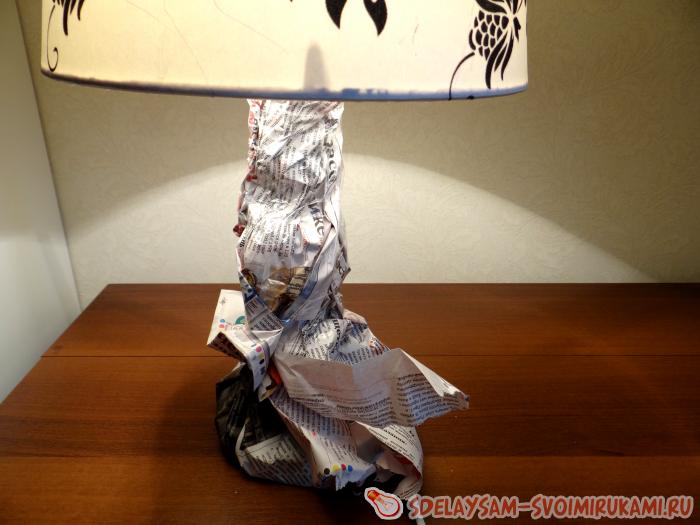
Before you begin to decorate any generally, it should be understood that this is an object and what it is made. I saw that the lampshade plastic itself, almost transparent, and from above it is covered with a cloth, which is cut on the pattern and is tightly glued to the surface.
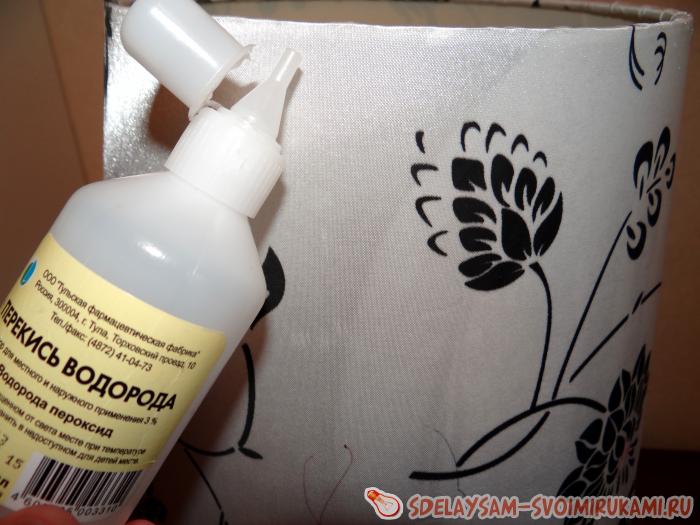
An attempt to lighten the tissue with a hydrogen peroxide has not led to anything, only dust and dirt remained on the cotton.
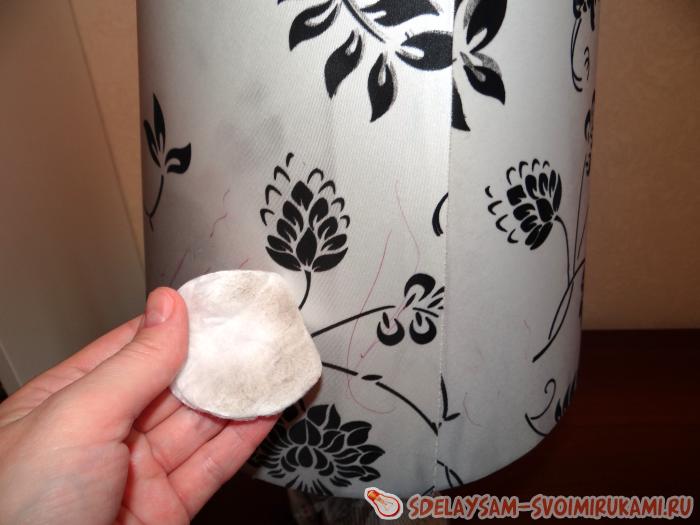
It turned out that the drawings are pricked on the fabric, the plastic character itself does not.
Also, by applying napkins and pieces of old wallpaper, I realized that the flowers shine in any case.
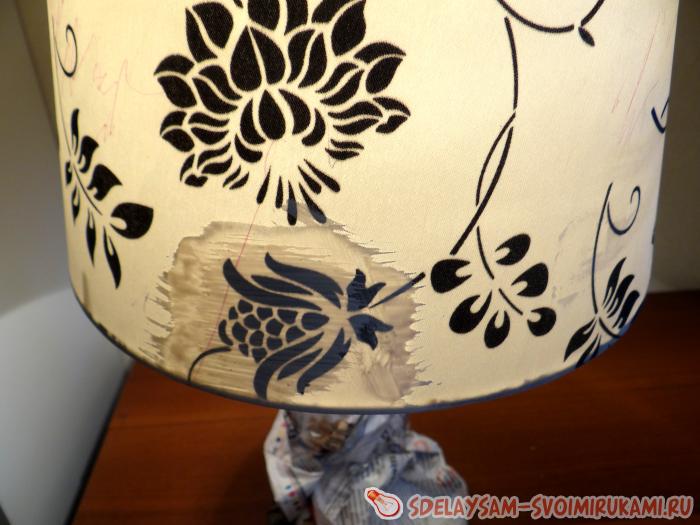
It became clear that the fabric needs to be removed. Whether it is just white or cream, it was possible to try to make a decoupage right on top of her.
So, get rid of the old fabric. I found the seam's place and gently began to separate the fabric from the surface to which it was glued. From time to time, the glue lost its bonding properties, and the cloth separated easily, but not everywhere.
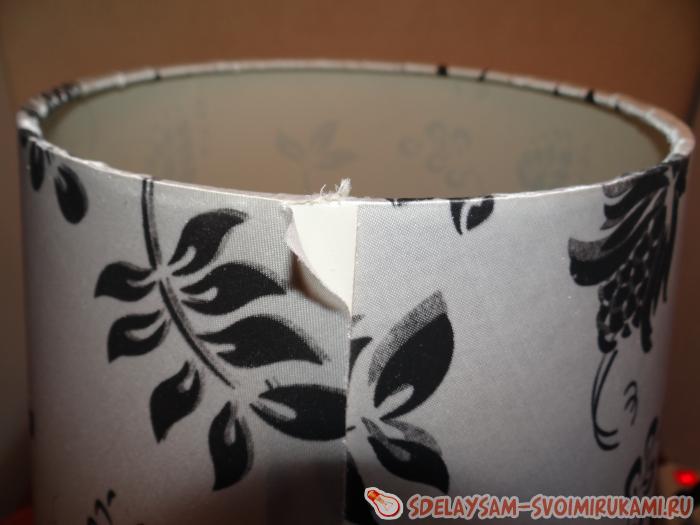
It is necessary to do it very carefully: in several places where there were cracks, the lampshade managed to burst.
I was ready to complete the work and attributed to the thing there, where she and the place, that is, on the garbage, but the interest in the work rearranged. So, the cracks had to restore.
Restoration, work with cracks
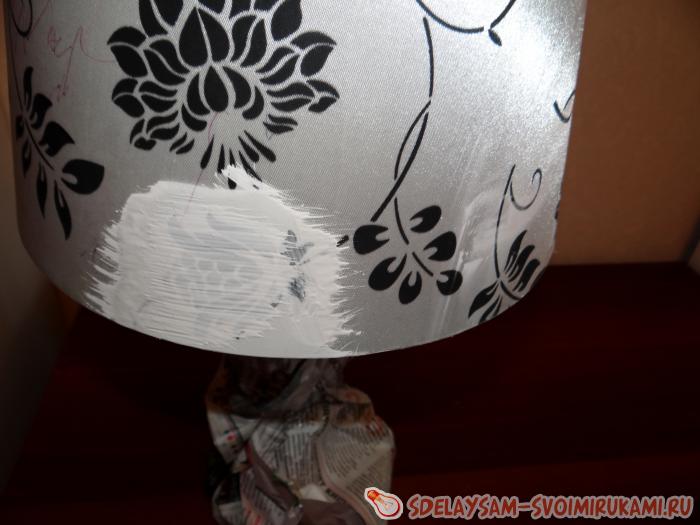
As in the previous time, I started restoration from the inside (gluing small patch) and from the front side (gluing of white napkins).

Last time I used instead of the primer of white paint: the lampshade was covered with smooth paper paper. I started casting plastic and now.
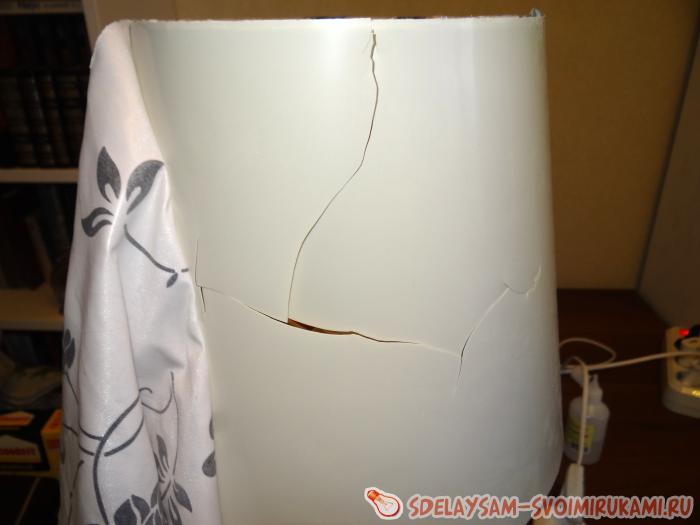
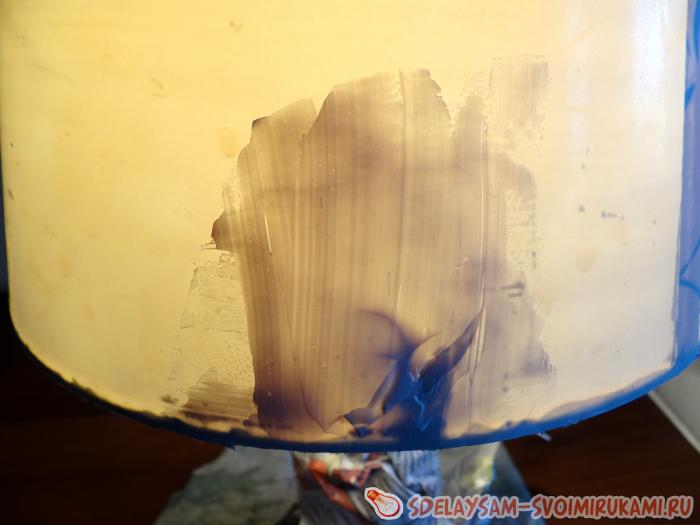
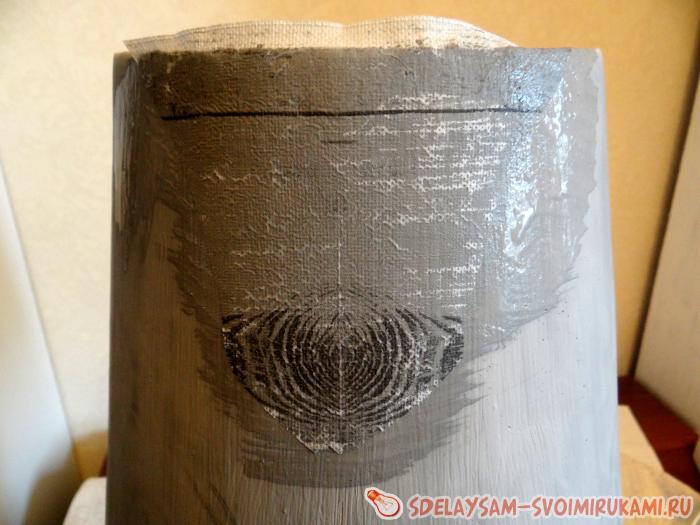
And that's what I got when the lamp is turned on:
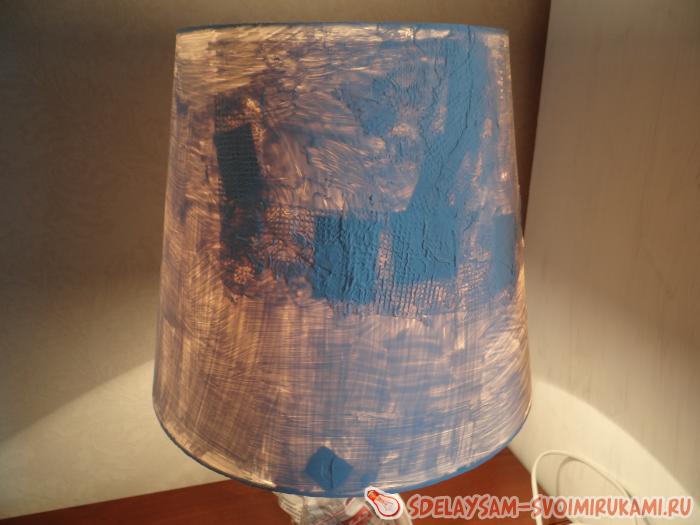
All irregularities, cracks, patchwork were perfectly visible in the light. It became clear that the napkin would not hide them. It was necessary to do something. A few days of thought led me to the fact that the paint need to wash off (well, that it was not waterproof).
Under the jet of warm water, very carefully I got the whole paint with a sponge, not excluding cracks. Patchwork everyone also washed off. And the work began first.
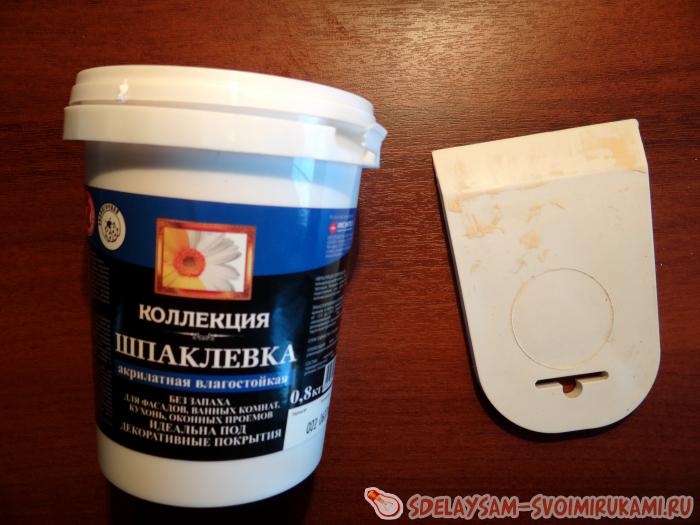
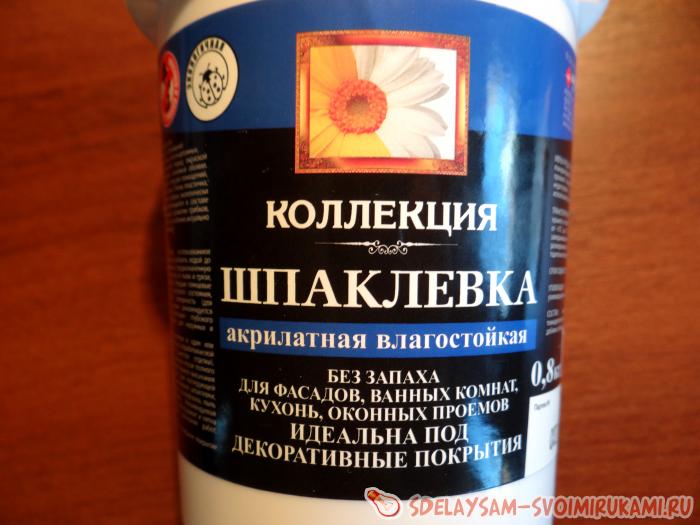
Some time I chose a putty (primer). The choice stopped on the acrylate moisture resistant "putty" the company "Collection": the manufacturer promises that it is perfect for decorative coatings, and what is a napkin motive, what is not a decorative coating?
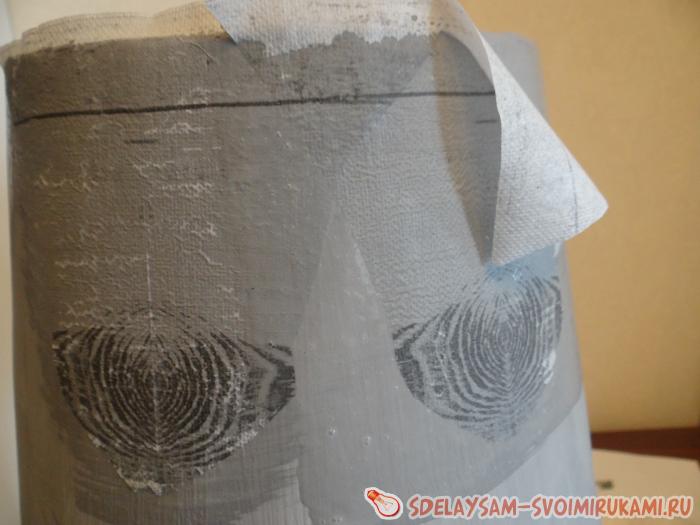
I continued the experiences on the restoration, all of them were performed with the lamp on to assess the degree of transparency. Cracks with an inside and the front side (if not concave) were embedded with several strata of the tape (chopped in small squares and glued, trying to avoid bubbles).
The second step was the first layer of primer on the lamp. I finished first large cracks, then began to apply the composition on the entire surface.
And so trouble: Exactly she locked only in some way, in some places it became curly, in some - the light passed. I did not despair, put a paste and left to dry out for a couple of hours. After this time, I tried to grind the surface with emery paper No. 60 and found that all irregularities are very easy to smooth.
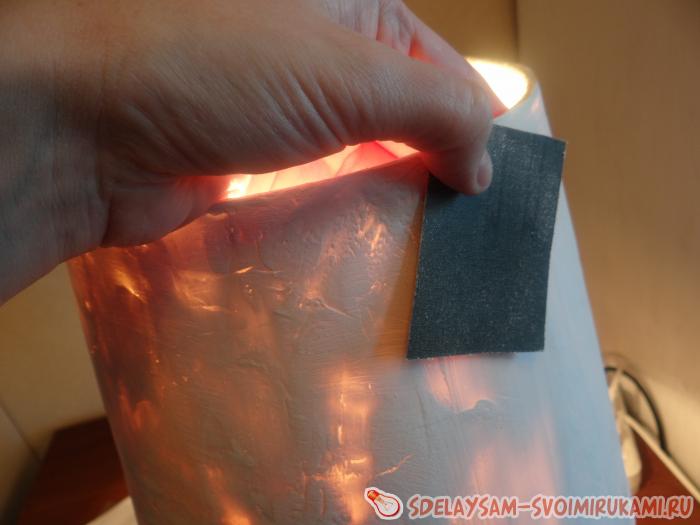
After drying the first layer, I (with the lamp turned on!) Began to put the primer and boldly, wide smears, trying to ensure that the light is leaked uniformly. After the surface is driving, it will be altered, and it will be ready for further work.
After the main part of dried, you can add pastes to those places where points, cracks or other defects are visible. It is convenient to do with cardboard using it like a spatula. Leave to dry again, but you can dry the hairdryer.
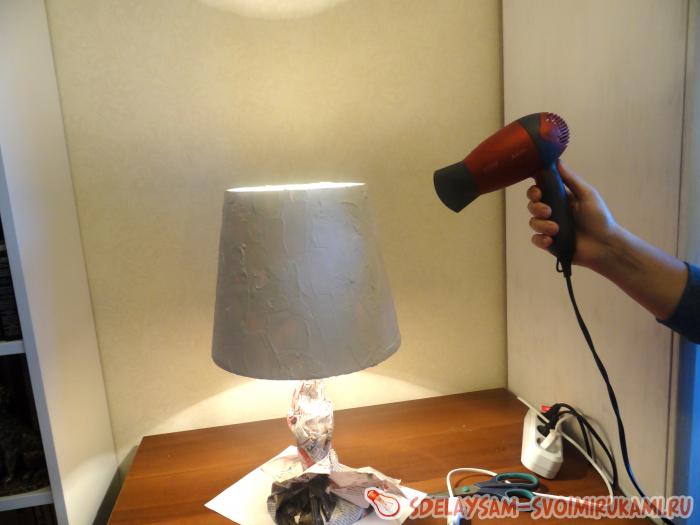
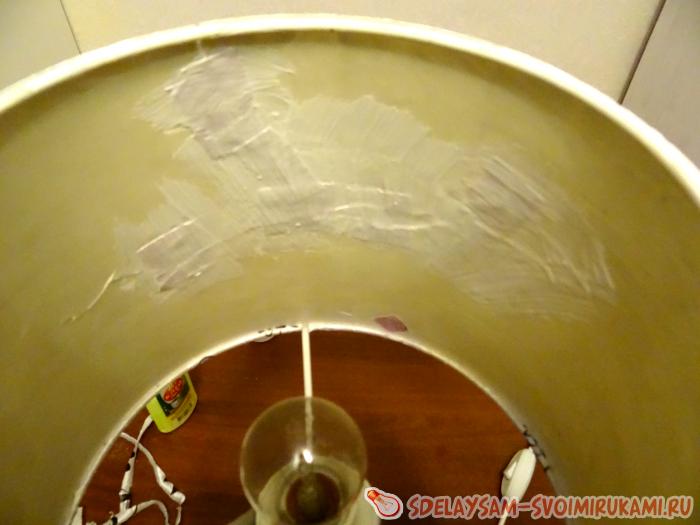
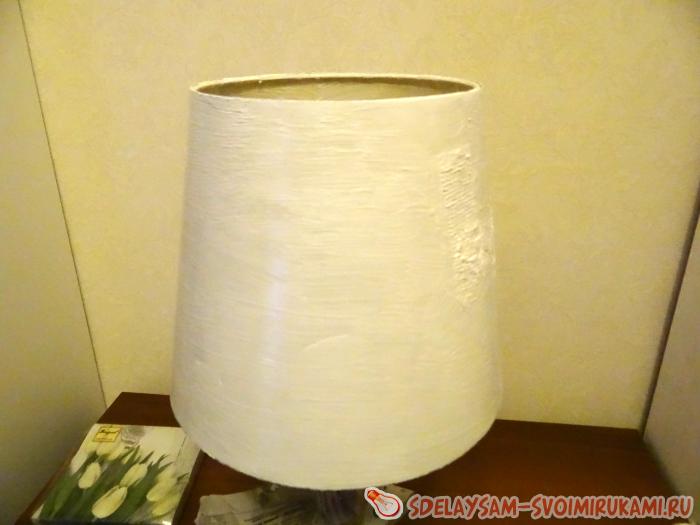
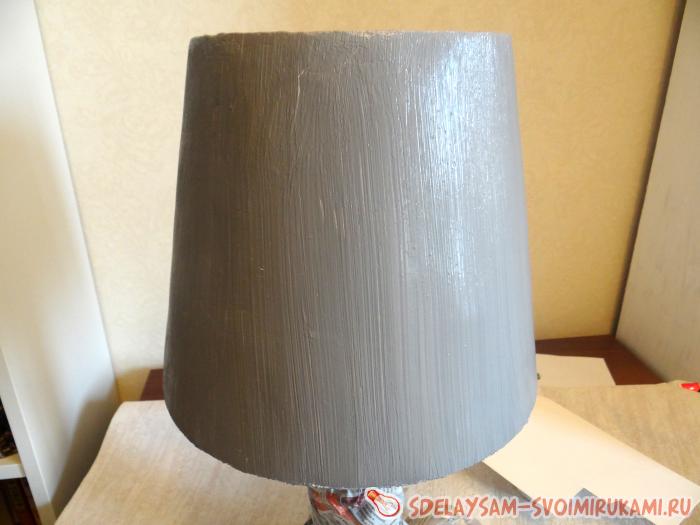
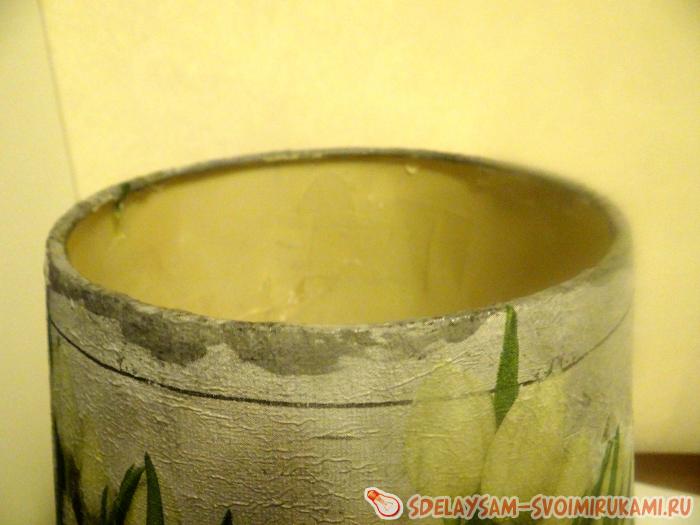
This is what the lampshade looks like after applying "putty" and surface grinding:
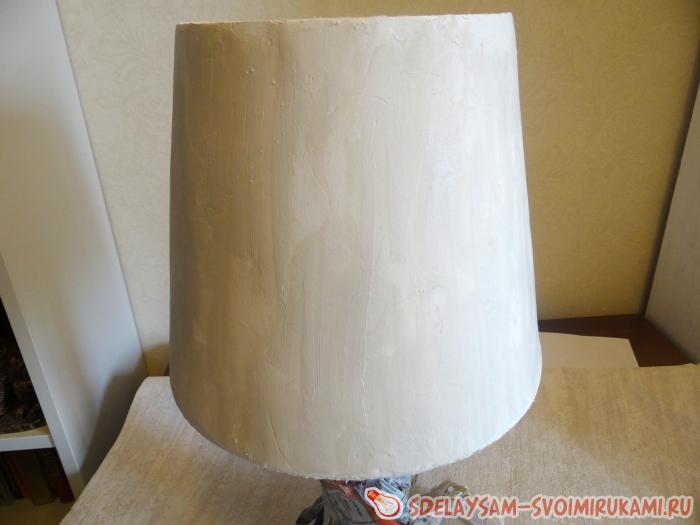
Now it is clear that the napkin motive will be clearly visible and when the lamp is turned on, and when the lamp is turned off.
Color
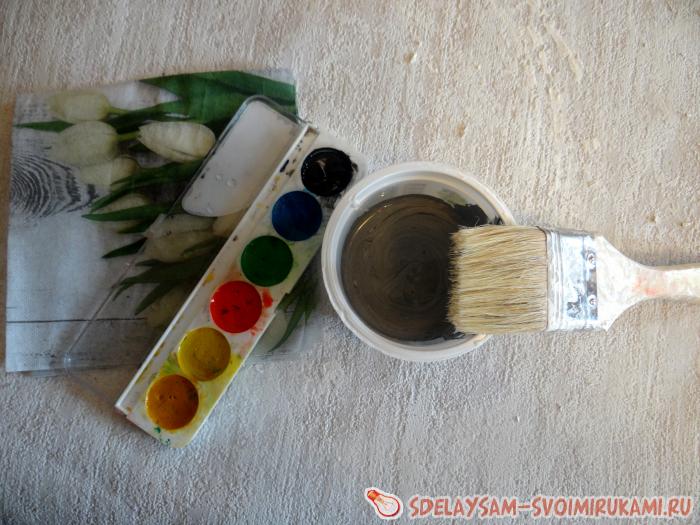
After the priming, I just paint the lampshade of gray paint. There is another little secret here: I calze (add a color) to the paint with ordinary watercolor. With water, of course, I do not laugh, but I add a piece of watercolor in the paint and mix a long time until the color becomes homogeneous.
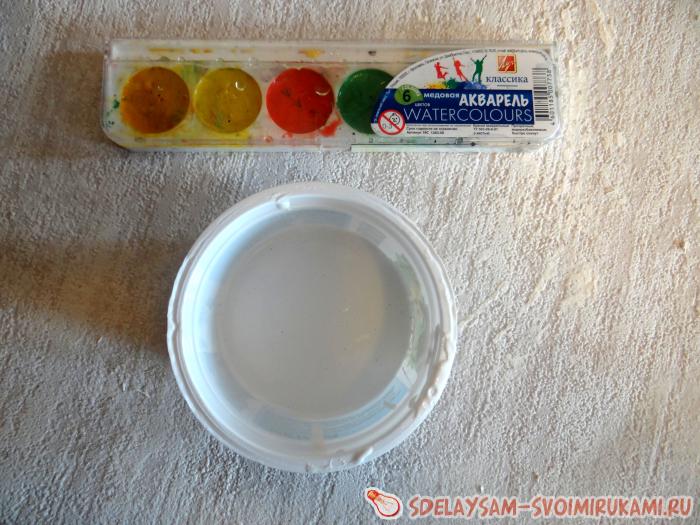
The color must be trying in the corner: is not dark? If dark, add white paint and mix again.
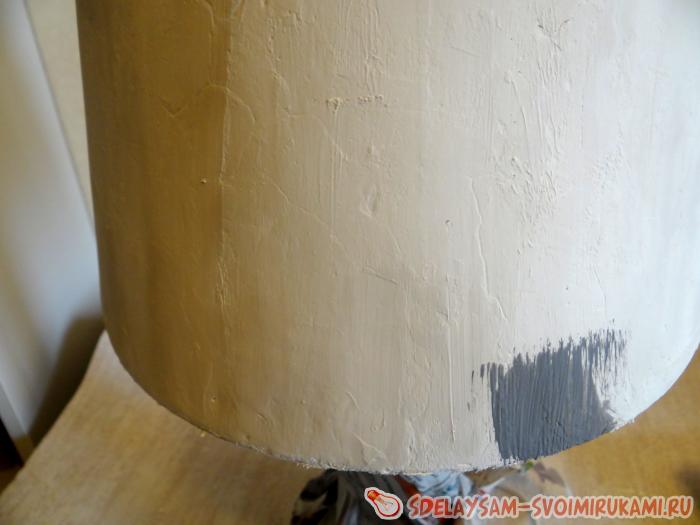
Now it is very simple: paint a wide brush, aligning the layer of paint if there is a texture in the form of small scratches, it is not scary and even interesting. It is desirable to still paint in one selected direction (or from top to bottom, or in a circle).
That's all, now Abazhur is ready to decorate in any way! You can perform a decoupage, and you can use ribps, or paint with acrylic paints, applying a selected pattern.
Gentle lilies: lamp decoupage
Hospipes who love and know how to make lovely things and interior items with their own hands, will be interested to learn about such a decorating method as decoupage. This is the design of any surface with color motifs with three-layer napkins. Indeed, on serving napkins sometimes there are bright, beautiful drawings that you want to transfer, for example, on the lampshade. Such a table lamp will look good in the bedroom, and in the living room, and the motifs for decoupage can be selected in accordance with the general interior of the room.
In the previous part of the article, we already reviewed the stages of surface preparation stages to decorate. Let's summarize.
The paint is not suitable as a primer, and the restoration is not suitable for white napkins, as it shines through the plastic. Cracks from the inside we embroidered with a transparent scotch, and then put a putty on the surface (primer), which was then grinding for a long time for emery paper No. 60.
The next step will be thorough treatment of this paste small cracks and irregularities.
After grinding we will apply two layers of paint, and our lampshade will be ready for decorating after drying.
Preparation of napkins and decoupage
After the surface dried and ready for decoration, you need to choose and prepare napkins. Image quality is very affected by the final view of the thing.
Recommendations for choosing napkins:
three-layer napkins are better than two-layer;
choose motifs, taking into account the fact that they will need to be cut, that is, without small parts;
the brighter the colors, the better, do not get very bright and too dark napkins.
Before starting to decorate the lamp, separate the colorful layer from the napkin, swallow the folds with an inside with an iron. After that cut out the motifs.
Attention! You can first cut the motifs, then split the layers and only then try. Choose a convenient option.
As glue, divert wallpaper glue slightly than for the walls of the walls.
Think out the composition: Apply napkins to the lampsuit, imagine the finished product. If the decision is found and the idea appeared, you can start decoupage.
Apply glue with a wide brush to the place where the motive will be. Then attach the motive with the colorful side up, trying to stick it in the middle, and then scroll the edges. If everything is done correctly, the napkin will be left alone, you will need only slightly help her. Such paper is very thin, and you need to handle it delicately. We can say that there is no right to an error here.
Gradually swipe the entire surface or part of it, according to your idea. Depending on the motive, the drawing must be combined in whole or in part. Some patterns are not required.
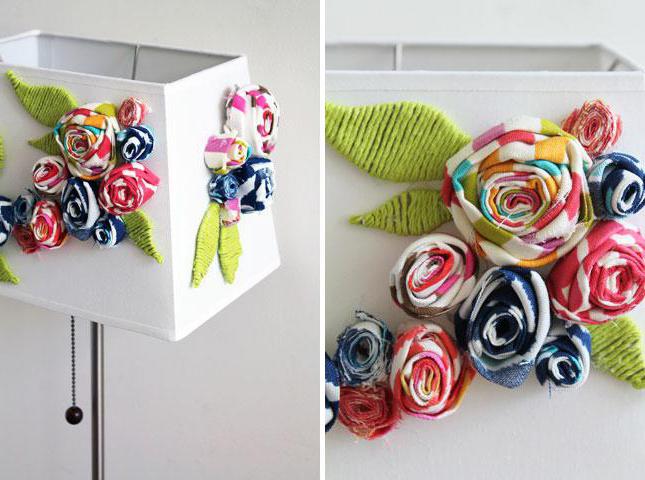
Final strokes
Substitute (Sweet) top lamp.
Look at the resulting drawing: perhaps it requires Dorivovka someone element. In this case, I noted the flowers with a simple pencil that fell on a light background.
Laco will serve as a layer of transparent wallpaper glue. It dries in a couple of hours.
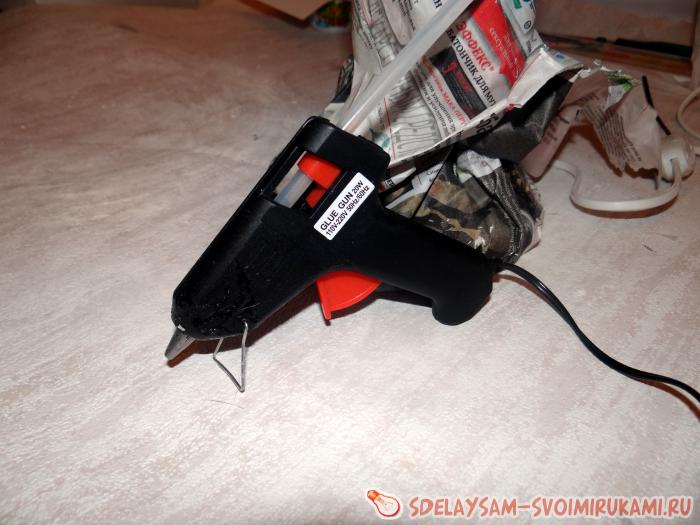
For the processing of the lamp, I took a gray braid suitable for style. I lock it on a few drops of glue from the adhesive gun.

1. Shade.
2. Primer or putty indicating: "for decorative coating".
3. Emery paper.
4. Brushes.
5. Watercolor paints.
6. Waterproof white paint.
7. Napkins with suitable motifs.
8. Tape.
9. Scissors.
10. Adhesive gun.
11. Scotch.