The living room occupies an important place in every home, where the inhabitants of the house relax, communicate with friends and relatives and hold important events. If you plan to carry out repairs in the hall, then you need to remember that he is the face of the apartment. And even the smallest details must be taken into account there.
Repair in the hall must begin with cleaning the ceiling and walls from the old coating. This must be done with high quality, because if the old coating remains, then it can crumble along with the new repair.
But if it is planned to process the walls with plasterboard, then it is not necessary to remove the old coating. Since it is attached to the wall with nails and dowels.
In other cases, the walls must be thoroughly cleaned before applying the finishing material.

After that, the laying of hidden electrical wiring is carried out and at the final stage, putty and sanding is carried out.
It is important that the finishing material is durable, and that it is well fixed, the walls are primed. It protects the surface from various damages and provides good adhesion.
If a concrete base is used, it is not necessary to apply a primer layer, but then the chances of a quality repair are reduced.
The primer is a guarantee of durability and high quality repair. But it will not hide the flaws and irregularities on the surface, it will be necessary to perform putty on the walls to hide the defects on them and level them.
After drying, the wall can be brought to an even and smooth state.
The putty should not be diluted in advance, as it sets quickly. And at the end, the wall is sanded.
In addition, it is necessary to check the floor; there should be no loose beams, squeaks and irregularities on it. If you find them, you should replace the old boards with new ones.

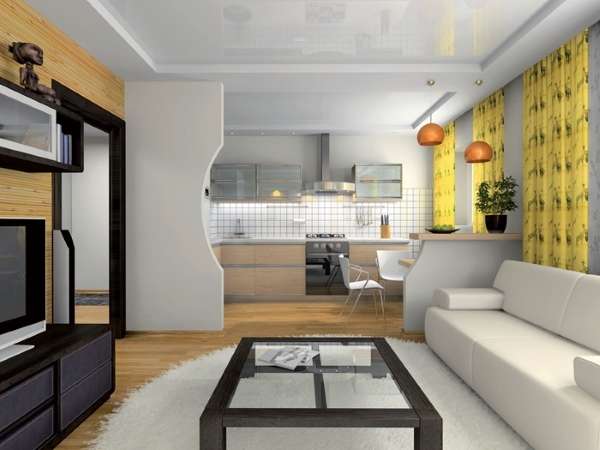
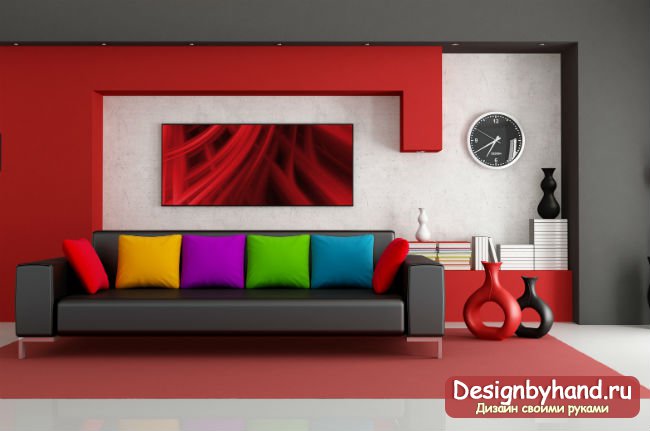
An important component in interior design is the color palette.
Thanks to the correctly chosen color, the space in the hall can be divided into several zones and even adjusted. Promotes room expansion by combining light walls with dark floors.
The room will look larger if the same finishes are used on the walls, ceiling and floor. And if one side of the wall is darker, it can increase the depth of the room.
If the hall has a large area, then rich warm shades should be used there. And if the hall is small, then it is preferable to use light pastel colors there.
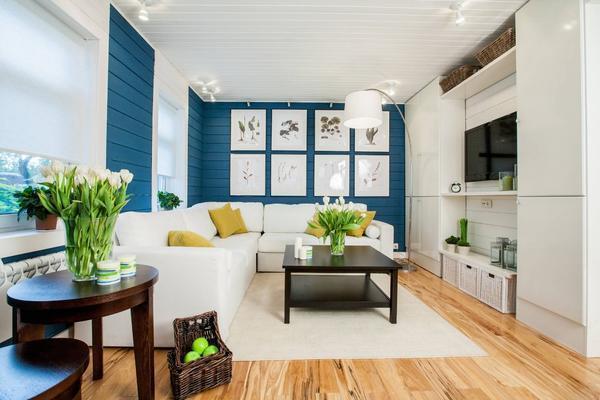
In the hall, you do not need to save on wallpaper, where they occupy most of the area, and therefore they create a general atmosphere in the room. If high quality wallpapers are used, they will last a long time. 
Many people use silk, linen or velvet wallpapers when they make repairs in the hall, since they do not fade, do not absorb odors and do not collect dust. Non-woven wallpapers are considered practical; they differ in a variety of colors and patterns.
In the hall today, the ceiling is often made of several finishing materials: plasterboard and stretch ceiling. To do this, you will need to create a two-level plasterboard ceiling, after which a backlight is installed on it and the canvas is stretched.
If the apartment has high ceilings, then a three-level ceiling with illumination is used, but there is no stretch canvas.
Any covering looks good in the hall: carpet, plinth, parquet, laminate or linoleum. Much depends on the preferences of the owners. The carpet looks beautiful in the hall, but it requires special care. But when using it, thermal insulation materials are not required.