When receiving a long-awaited apartment in a new building, moving to another home, or when planning repairs in an old familiar place, the first thing they pay attention to is, of course, the usable area. Namely, its size. I really want every centimeter of the area intended for housing to be used. In every home there are things that I would not like to show off. For example, rolls of toilet paper "in reserve", all kinds of jars of toiletries, cleaning products, brooms, rags, etc. The question arises: how to make a closet in the toilet behind the toilet with your own hands?
Many will agree that a closet for a toilet is a rather useful, practical piece of furniture for such a room.

There are many options for such solutions. It is necessary to take into account the design features of such a cabinet.

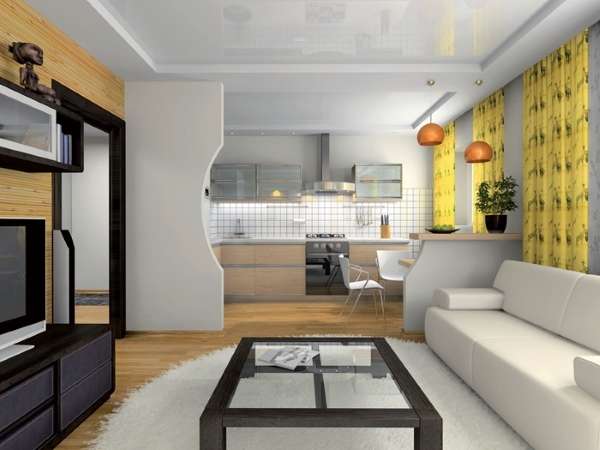
A beautiful design will add zest to the interior, plus provide the necessary functionality.

One way or another, it is better to make the facade from chipboard in order to achieve an attractive appearance of the structure.
The main ones are:

There are a lot of options for using cabinets, you just have to choose exactly how you will use the free space of shelves, drawers and other elements.
If desired and the availability of money, these sheets can be sheathed, covered with decorative films, decorated to your taste.
Before starting work, you need to draw up a plan, take measurements and draw a plan of a plumbing cabinet in its actual dimensions on a sheet of paper. The plan is needed from the facade and from the side. In it, it is necessary to take into account the number and size of the shelves, as well as choose the option and places of fasteners. You need to think about how to make a closet for the toilet with your own hands step by step, write a short instruction plan in order not to subsequently redo the already formed material.

Before proceeding directly to the assembly itself, you should decide on the materials that will be used in the assembly of the cabinet.

We take serious fasteners into the wall.
What is better to make a cabinet, doors, shelves, than the hatch will be closed, shelves holder structures? The hatch, for example, can be made of plastic, this is an economical and practical option, but the built-in hatch under the tiles will look more aesthetically pleasing - this will make it almost invisible.

If the items are heavy, it is better to use laminated chipboard sheets.

Not every ready-made toilet cabinet matches the availability of free space, the wishes or requirements of the client.
If you hang a mirror in place of the hatch, it will disappear from the angle of view; if it is decorated with artificial modern materials, for example, stone or tiles with bright ornaments, then this can become a particularly attractive composition. There are many options!

Obviously, it is not difficult to purchase a ready-made closet for the toilet, just as it is not difficult to mount it.

Calculate the dimensions accurately so that obvious problems do not appear during installation.
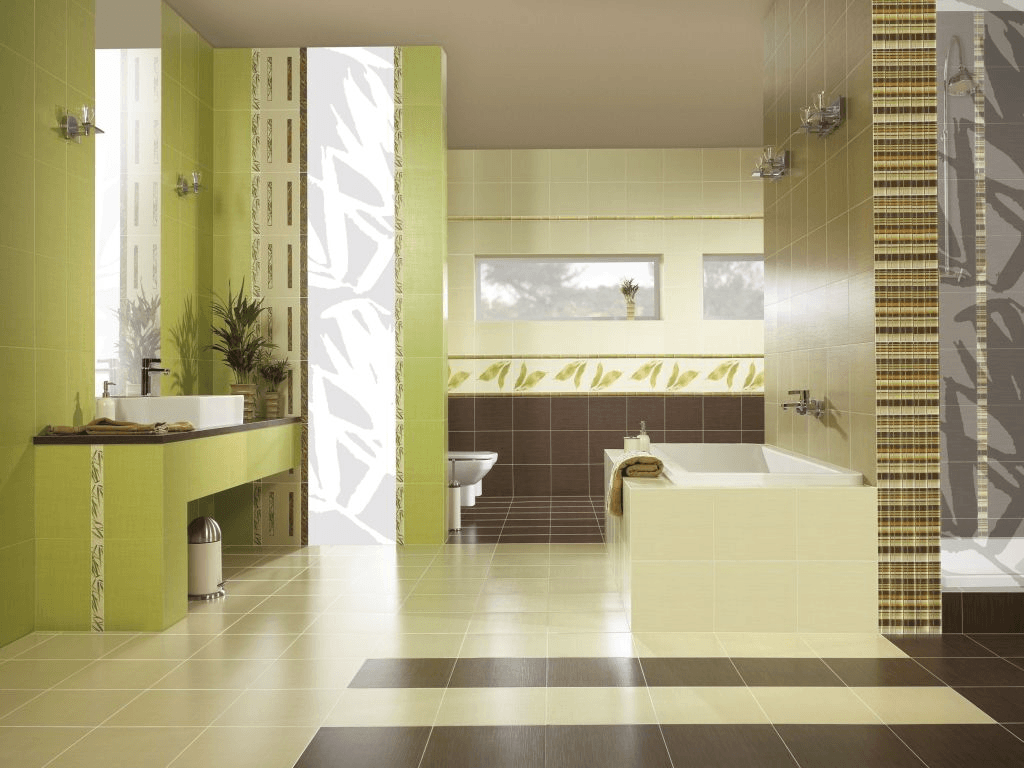
It is better to choose the material from which the doors can be made based on the design of the room. Suitable wood, ceramic tiles, plastic, chipboard, MDF, laminate, metal, etc. The main thing is to provide waterproofing.

You will be satisfied with the work done, you will have something to be proud of, plus you will be able to create exactly the furniture that is ideal for your particular case.
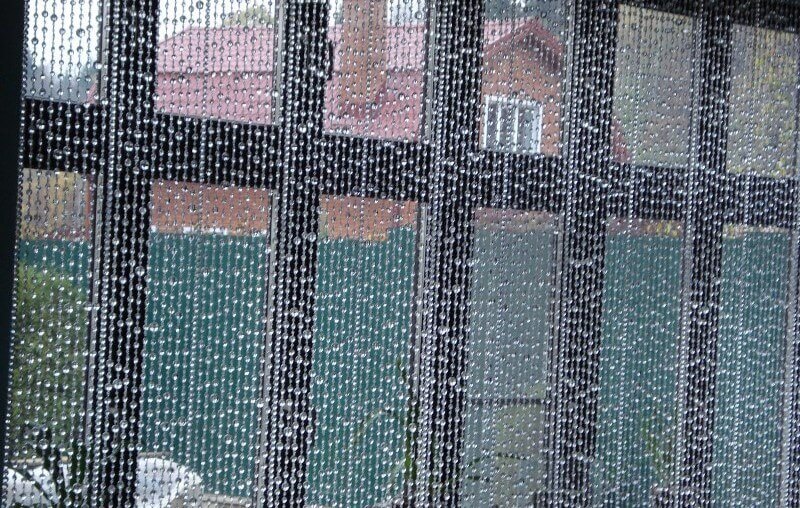
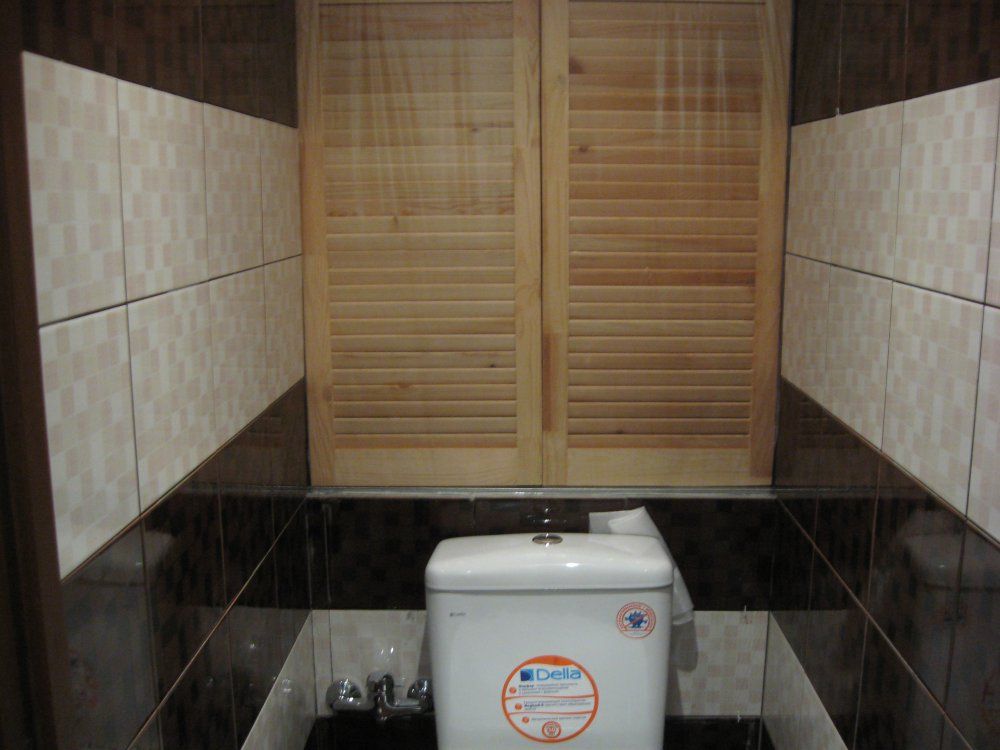
Blinds can serve as a budget option. They are easy to install, lightweight, easy to dismantle and change. Also, the easiest way to use the space above the toilet is to install regular shelves. This will require bars, corners, screws and the shelf itself, cut to the size of the opening or slightly less. The depth of the shelf is calculated separately depending on the design features of the place behind the toilet.

Preparing to create a do-it-yourself closet for the toilet begins with design.
For those who are accustomed to more expensive materials, glass can be used successfully. Since moisture accumulates in the sanitary room, it is better to choose tinted glass with a matte finish. When cutting glass, it is imperative to process the edge of the glass with a special grinding so that all the edges are smooth. It can also be interesting to get a version of a plumbing cabinet made of metal. Designers like to use such material when designing loft-style interiors.

The frame is made of bars measuring 30 by 30 millimeters. Try to make all the markings evenly using a level and tape measure.
An interesting material for cladding the facade of a dressing cabinet is a mirror. It has an amazing property to expand the space, which can be useful for small bathrooms. In addition, the refraction of light through a mirror prism can play interestingly in the overall interior.

Mark the wall where you plan to install the cabinet.
When using wood, it must be taken into account that it easily absorbs moisture and the prepared material must be covered with a special protective coating before installation.

Assemble the frame from the cut bars, connecting the elements together with corners, self-tapping screws.
When making a ceramic cabinet, you first need to make a frame from bars, sheathe it with moisture-resistant plasterboard and glue ceramic tiles.

It is most convenient to fix the shelves to the wall on an aluminum corner profile 25x25 mm.
Shelves can be made open or closed, located inside the structure. When installing the shelves, it is necessary to take into account the height of packages of standard detergents, roll paper blocks, the height of the holder for floor rags and other toilet and household accessories. It is better to strive to make such a design so that everything that needs to be hidden can harmoniously fit into niches. You should not make the shelves at the same distance between themselves and strive for a symmetrical design of the shelves in the filling of the cabinet. It is better to measure the distance for their fastening in accordance with the available standard set of things intended for storage in the toilet.

Making and assembling a cabinet in a toilet with your own hands is unthinkable without the appropriate tools.
Some structural elements, for example, false panels, can be purchased ready-made in specialized stores. In this case, the dimensions of the structural elements of the sanitary cabinet must be adjusted to the size of the previously purchased facade elements.

However, before starting any cutouts, it is necessary to calculate the position of the shelves - the pipes are by no means vertical and the holes are made for specific dimensions for each shelf.
To work we need the following tools and materials

Of course, a closet for a toilet cannot be called complete if it does not have doors and fittings.
As accessories you may need:

Take measurements for the doors, cut out blanks for them.
It is better to purchase fittings from good manufacturers, since this is an actively used part of the structure and all mechanisms must be reliable in operation.

As you can see, making a closet in the toilet with your own hands is not as difficult as it might seem.
Door handles can be integrated, made of aluminum profiles. They differ from ordinary handles in their attachment point and appearance. They are a long thin aluminum strip mounted in the upper end of the door, usually they are made along the entire length of the upper end of the door. Thus, they seem to "disappear" from the general appearance of the facade, moreover, it is quite easy to take care of such a flat door surface, since it does not have protrusions. And for the installation of standard handles, it is required to drill through holes in the front doors and the handles turn out to be protruding, visually create a rather bright accent.

Of course, the doors can be made not only of wood or chipboard. Alternatively, there are roller shutters characterized by their practicality and modern design.
Separately, it must be said that before installing the locker in the toilet, it is better to take care in advance and check the condition of the plumbing networks. It may be necessary to carry out their prevention, eliminate possible weak points that can lead to leaks, replace valves, gaskets.

Plus, if there are tiles in the toilet, you can use simple sheets of plywood, which are then pasted over with the same tiles that are mounted on the walls of the bathroom.